Lightened Up Macaroni and Cheese
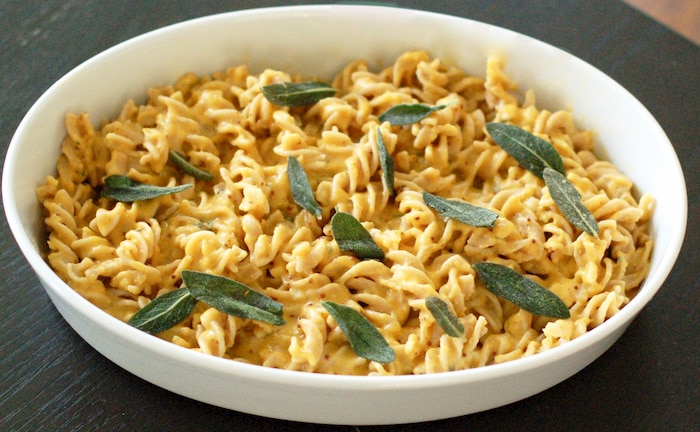
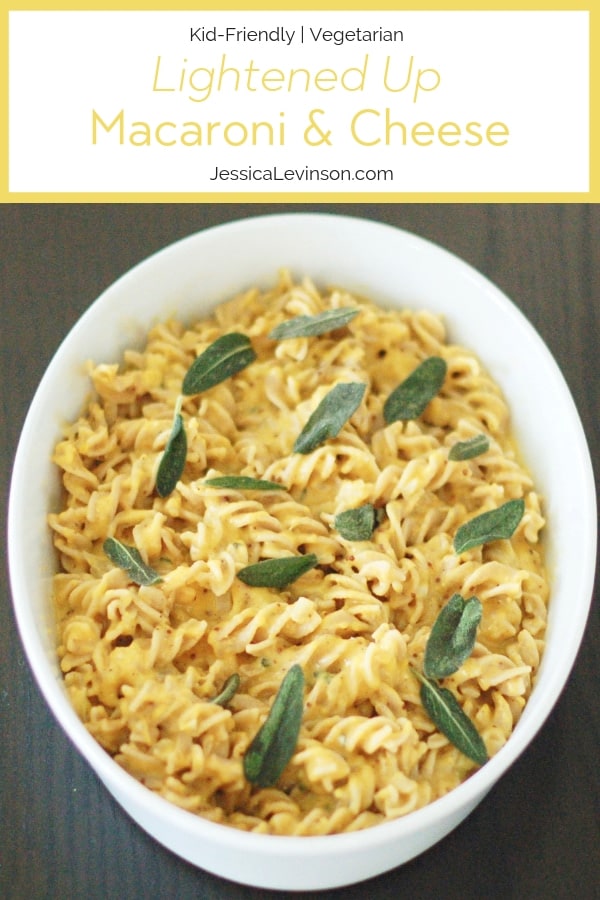
Lightened-Up Macaroni and Cheese is so creamy, cheesy, ooey, and gooey that you’d never know it’s better for you!
Pin the Recipe
You may not believe me, but lightened-up macaroni and cheese does exist, and I am going to tell you how. But before I do, let me fill you in on my love of mac n cheese.
Mac and Cheese: A Childhood Favorite
As a child, a box of macaroni and cheese with the yellow cheese powder was one of my favorite dinners. I was a picky eater back then and it was one of the few meals that my mother knew I would eat. And I did so very happily. As my palate and I matured and as I became interested in the study of nutrition and ingredients in food, I came to realize that boxed mac ‘n cheese had nothing on gourmet varieties that are made with freshly grated cheese, added herbs and spices, and lots of butter.
Hidden Veggies in Mac & Cheese
Over the years I have experimented with different versions of macaroni and cheese that would taste just as gourmet but would be a little friendlier to the waist line. I’ve tried adding vegetables to mac and cheese, but generally speaking my kids (and even my hubby) weren’t a fan of the addition from a texture standpoint. They had no problem eating the vegetables cooked on the side, but having them mixed into the mac just didn’t work.
While I don’t advocate for sneaking vegetables into recipes you serve your family (see what I have to say about this topic here), I found that by adding pureed butternut squash to my lightened-up macaroni and cheese I was able to boost the nutritional value of the dish, get some more veggies into all our bodies, and keep the texture the same. The pureed squash also added to the creaminess of the dish and allowed me to use less cheese than most recipes call for.
Now let me be really clear: I did not add the squash to fool my kids into eating a veggie they don’t really like, and after I made this recipe and it was a hit with my family, I let everyone know what was inside.
For parents who have difficulty with picky eaters, give this dish a try, and if your children ask what’s in it, have them taste it and no matter what the response, be honest about the ingredients.
Instant Pot Mac and Cheese
The original version of this lightened-up macaroni and cheese recipe is made in a similar fashion to traditional mac and cheese, which involves making a roux (a mixture of flour and fat), adding aromatics like onion and garlic, and adding herbs and spices for a richer flavor. Needless to say, this isn’t an everyday quick and easy recipe.
Until now! Using the Instant Pot, I have been able to make this healthier mac and cheese in less time. It’s not as pretty to look at (sorry I don’t even have any pics) or how I would serve it for company, but for an easy weeknight dinner it’s perfect.
Check out the Healthy Instant Pot Mac and Cheese recipe below. In addition to it taking less time, it’s also a little more of what your kids will be used to since I leave out the onion and extra seasonings.
I hope your family enjoys this mac and cheese upgrade as much as my family does. I’d love to know if you give it a try and what your kids think – leave me a comment below or tag me on social if you make it!
Pin the Recipe
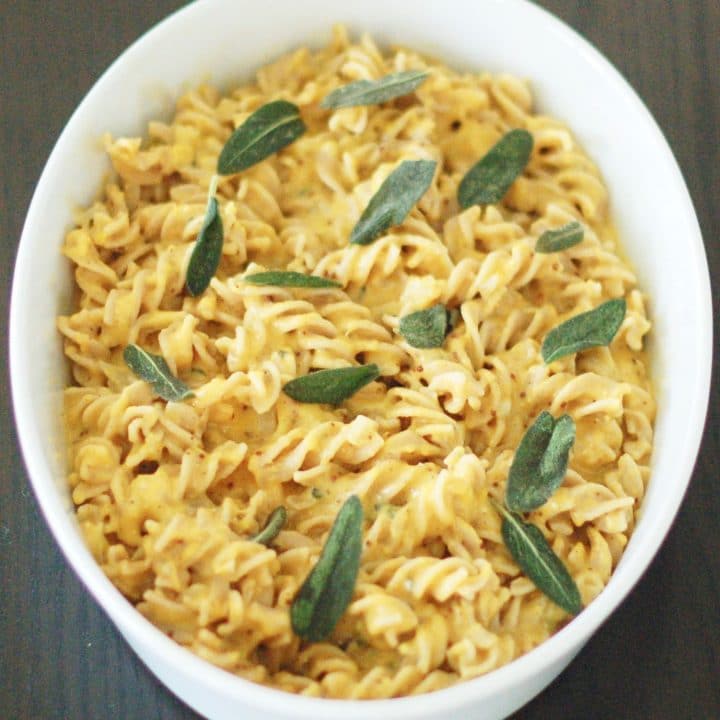
Lightened-Up Macaroni and Cheese
Indulge your family with a dinnertime favorite of mac 'n cheese that's extra gooey and better for your waistline!
Vegetarian, Nut-Free, Kosher
Ingredients
- 2 cups cubed butternut squash (see note below)
- 1 pound whole wheat fusilli pasta
- 1/4 cup light butter spread with canola oil
- 1 cup minced yellow onion
- 2 garlic cloves, minced
- 1/4 cup whole wheat flour
- 3 tablespoons grainy Dijon mustard
- 1 teaspoon Kosher salt
- 1/4 teaspoon chili powder
- 3 cups nonfat milk
- 3 cups reduced-fat shredded sharp cheddar
- 1/2 cup grated Parmesan cheese
- 2 tablespoons finely chopped sage (optional)
- Fried sage leaves for garnish (optional)
Instructions
- Bring a small pot of water to a boil; add butternut squash and cook 15-20 minutes until tender. Drain and puree with a hand immersion blender or food processor until smooth. Set aside.
- Cook pasta according to package directions; drain and return to pot.
- While pasta is cooking, melt butter spread in a large saucepan over low heat. Add onion and garlic to melted butter and stir for 1 to 2 minutes. Add flour, mustard, salt, and chili powder; whisk to stir until a thick paste forms.
- Slowly pour in the milk and whisk vigorously to prevent curdling. Add the pureed squash, stir to combine, and whisk every couple of couple of minutes until mixture is thickened, about 10 minutes total.
- Remove pot from the heat; add shredded cheddar, parmesan, and chopped sage if using. Stir until cheese is melted and smooth.
- Mix sauce and pasta. Serve with fried sage leaves if desired.
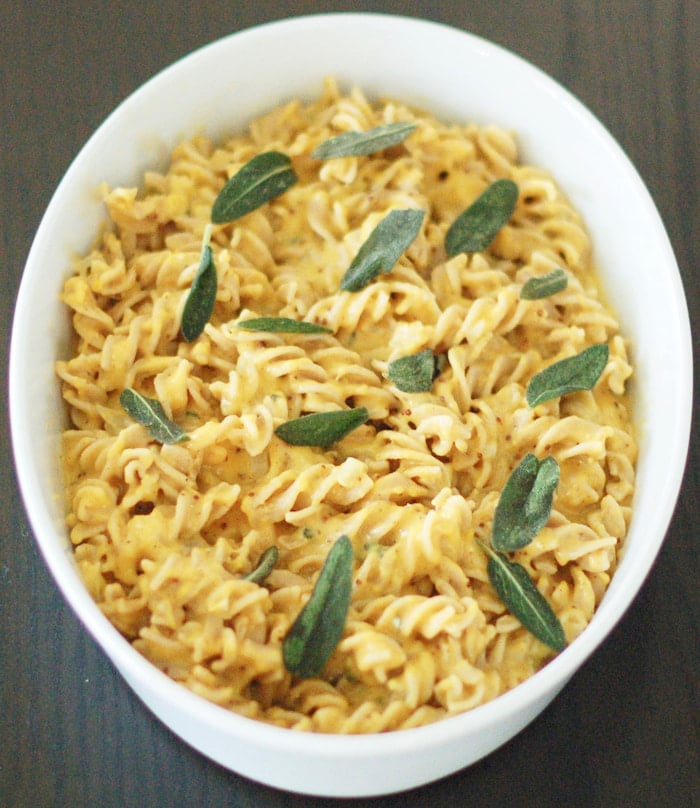
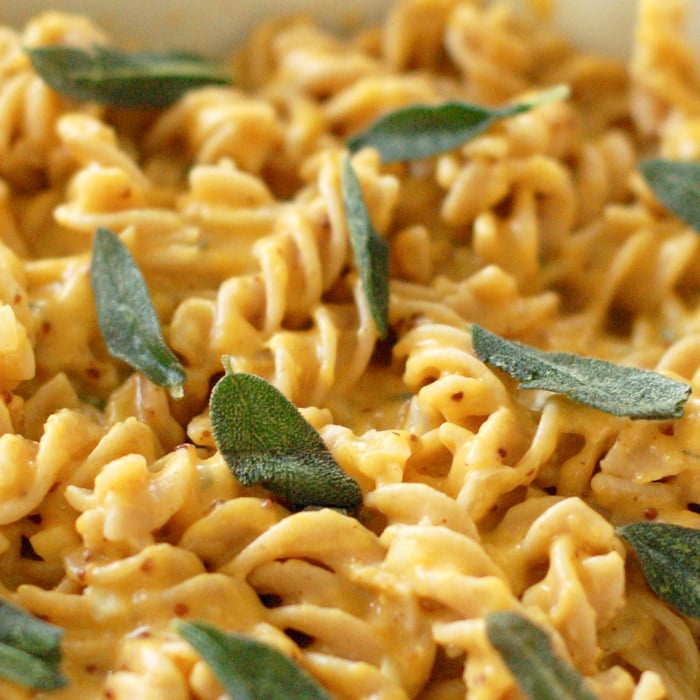
(If serving for a crowd, transfer mac and cheese to a baking dish and top with fried sage leaves, as shown in the picture.)
Notes
To save time, buy pre-cubed butternut squash in the fresh produce aisle or buy a bag of frozen butternut squash. 2 cups cubed squash is about 10 ounces in weight.
Recommended Products
As an Amazon Associate and member of other affiliate programs, I earn from qualifying purchases.
Nutrition Information:
Yield: 8Amount Per Serving: Calories: 356Total Fat: 8gSaturated Fat: 3gCholesterol: 15mgSodium: 685mgCarbohydrates: 54gFiber: 6gSugar: 8gProtein: 16g
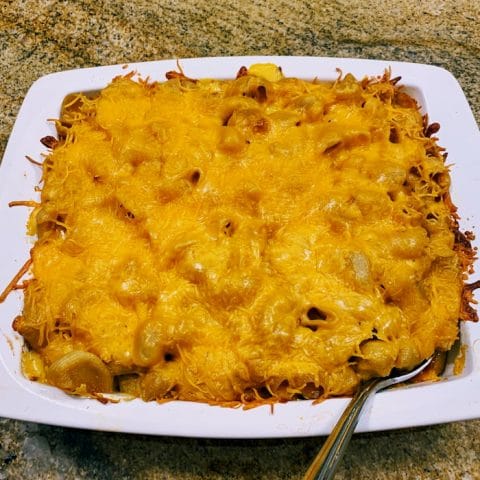
Healthy Instant Pot Mac and Cheese
This is the quickest and easiest homemade mac and cheese you’ll likely ever make. And even better than that, it also boasts increased nutritional value thanks to whole grain pasta, pureed butternut squash, and a little less cheese than most recipes.
Vegetarian, Nut-Free, Kosher, Gluten-Free-Friendly
Ingredients
- 2 cups cubed butternut squash (~10-12 ounces)
- 1 cup water
- 2 tablespoons butter or butter substitute
- 1 pound dried whole wheat pasta (see note below for bean-based pastas)
- 4 cups water
- 1/2 teaspoon Kosher salt
- 2-3 cups light shredded cheddar cheese
- 1/2 cup half and half (optional)
Instructions
- Place cubed butternut squash in the inner pot of the Instant Pot and add 1 cup water. Close the IP lid and turn the steam release handle to the "sealing" position. Use the “pressure cook” setting and set on high pressure for 4 minutes. (Note: It will take about 5 minutes to come to pressure before the 4 minute cook time begins.)
- When the cook time is done, immediately do a quick release of the pressure and turn the IP off. Open the lid, remove the inner pot, and pour cooked squash into a strainer over the sink.
- Transfer the cooked squash to a bowl and use an immersion blender to puree until smooth. Alternatively, transfer squash to a food processor or blender and puree until smooth.
- Rinse out the Instant Pot inner pot and return to IP base. Set to sauté and add butter (or butter substitute). Once the butter is melted, turn off the IP. Add the pasta, 4 cups water, and salt. Seal the IP and set the pressure cook setting to high for 5 minutes. (Note: It will take about 10 minutes to come to pressure before the
cook time begins.) - When the cook time is done, immediately do a quick release of the pressure and turn the IP off. Open the lid and stir the pasta to ensure nothing is stuck to the bottom of the pot. Add the pureed butternut squash, 2 cups of cheese, and half and half (if using) and stir until combined. Add more cheese as desired. Cover the IP and let sit for a few minutes before serving. (Note: if making ahead, turn on the “Warm” function after covering the IP.)
Notes
If using legume-based pastas (like Banza), cook pasta for half as long as box directions. It should only be about 3-4 minutes.
Recommended Products
As an Amazon Associate and member of other affiliate programs, I earn from qualifying purchases.
Nutrition Information:
Yield: 8Amount Per Serving: Calories: 344Total Fat: 12gSaturated Fat: 5gSodium: 286mgCarbohydrates: 47gFiber: 6gSugar: 3gProtein: 15g
Nutrition information may not be 100% accurate.
Do you have a dish that brings back childhood memories?
If you want it lightened up, let me know in the comments below!






To bad there is no nutritional values.
That would hold some credit of how worth it that it is for a diabetic.
Thanks for your feedback. I don’t usually include nutrition info for my recipes because my focus is on enjoying the food you eat without thinking/worrying about numbers. That said, I do understand the need to know for diabetics and I will try to run the analysis as soon as possible.
Do you have a recipe for Chicken Gumbo? Moving to Louisiana when I was 12 , my Mom’s new friends taught her how to make Chicken Gumbo. I use chicken, broth , onions , celery and green onions. For Rue I used to use wondra flour and Canola oil Last time I made it I got sick..wondering if I can use something else in place of the Canola oil?
Thanks!
Hi Patrick, I’m sorry I don’t have a recipe for chicken gumbo. I’m not really sure why the canola oil would make you sick – perhaps it was something else in the stew. You could try peanut oil though. Good luck!
How much sodium is in a serving, and how much is a serving?
My husband is on a low sodium diet.
I love that this is made with butternut squash, and I think my 3 year old would love it even more! Can’t wait to try this!
Thanks Emily! I hope he does love it!
I keep seeing butternut squash Mac and cheese recipes that look so good and this one tops them!
Thanks Lorie! You’ll just have to make it soon!
Such a great idea to add sage to this favorite comfort food! Love the lighter alternative!
Thanks Kathryn! Hope you give it a try soon.
I love the way you incorporated the butternut for more creaminess and nutrition! I’ve used this squash for pasta sauce in one recipe and just loved it.
Thanks Alisa. Hope you make sauce with butternut squash again!
I could really go for this for dinner tonight! I’ve been craving mac and cheese 😉 This looks so delicious and I love that it’s lightened up!
Hope you satisfy the craving soon Christine!
This looks dreamy Jess! Who didn’t love Mac and cheese as a kid, and I love the grown up version that is so delicious and nutrient packed!
Thanks Liz! So glad I’m not alone in my mac and cheese love!
Love the addition of squash to this mac n cheese! Great way to add nutrition and extra creaminess.
Thanks so much Sarah! I love getting the extra nutrition boost and it’s still so cheesy without as much cheese as other mac and cheese recipes!
YUM! This looks so creamy and delicious. I will definitely be giving this a try this fall!
Thanks so much Lauren! It’s a hit with my kids (and me!). Hope you like it too!
That is one gorgeous bowl of pasta! Fabulous idea using butternut squash!
Thanks Gwen!!
Love the butternut squash addition:)
Thanks cindy!